[AzureVM] How to use Azure VM with PuTTy
1. Creating Azure Resource Group
Create Azure account and go to Resource Groups and hit the review&create button in the below

*Resource group - A container that holds related resources for an Azure solution. The resource group can include all the resources for the solution, or only those resources that you want to manage as a group. You decide how you want to allocate resources to resource groups based on what makes the most sense for your organization.
2. Creating Azure VM
now go to Virtual Machine taps and create same as resouce group
- create Ubuntu Virtual Machine (image: Gen2, size: 4cpu and 16GiB memory)
- click next: Disks
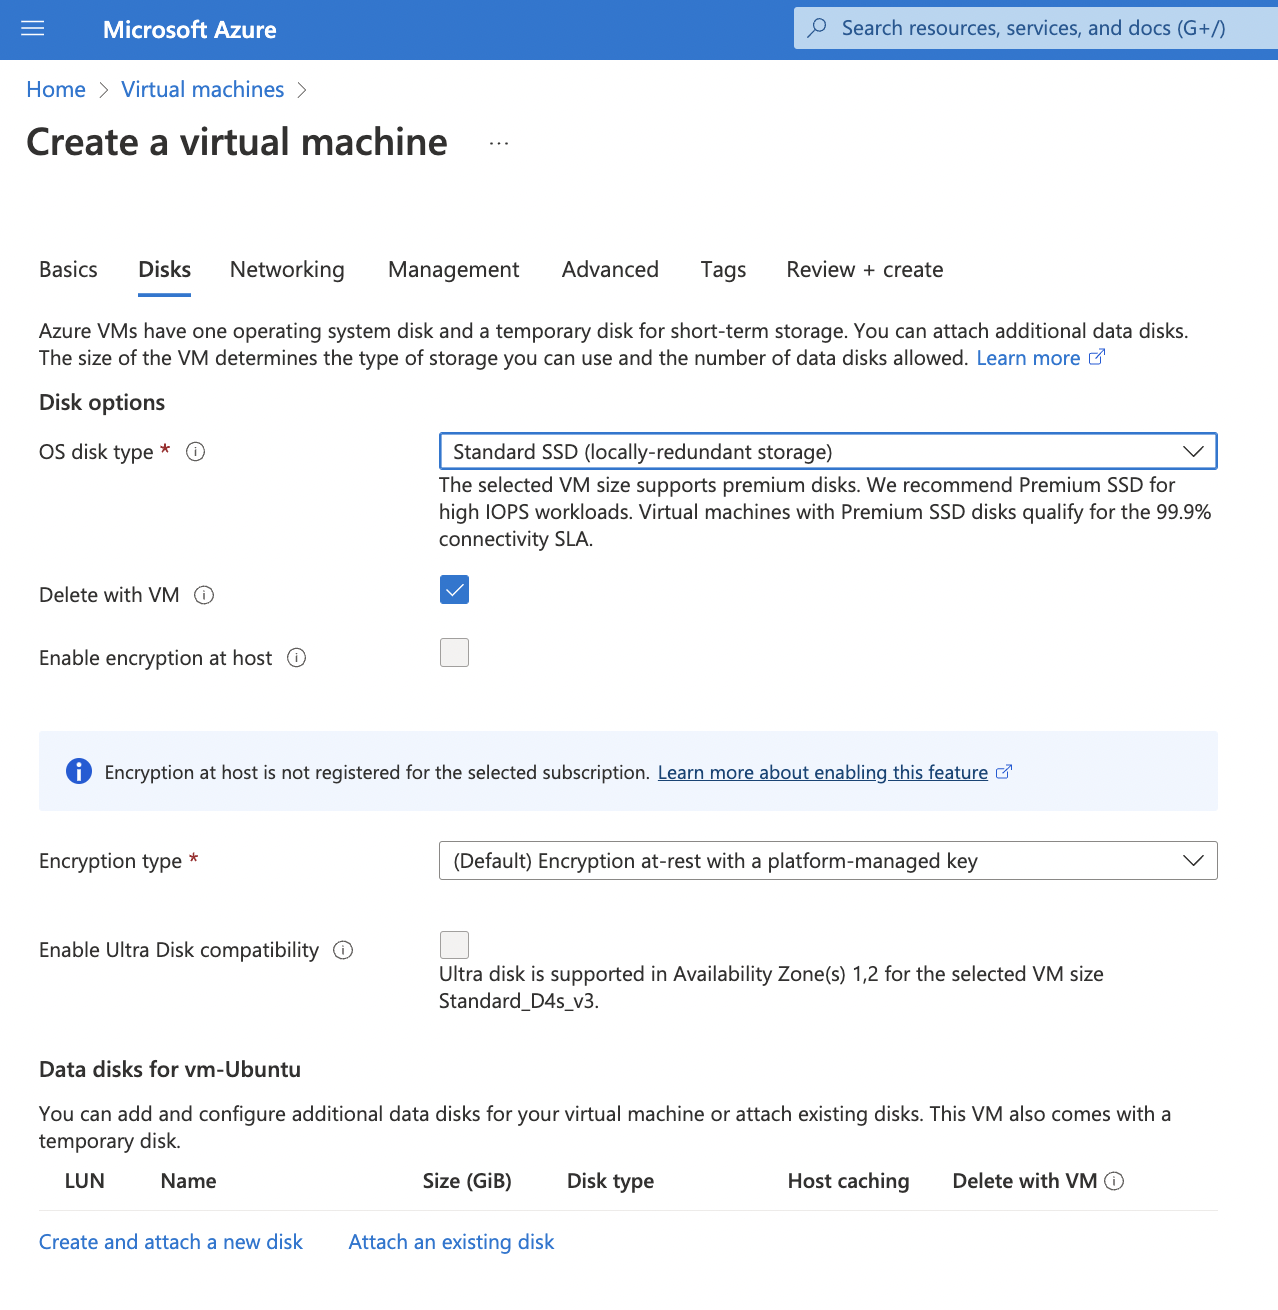
-change OS disk type to SSD and click create and attach a new disk
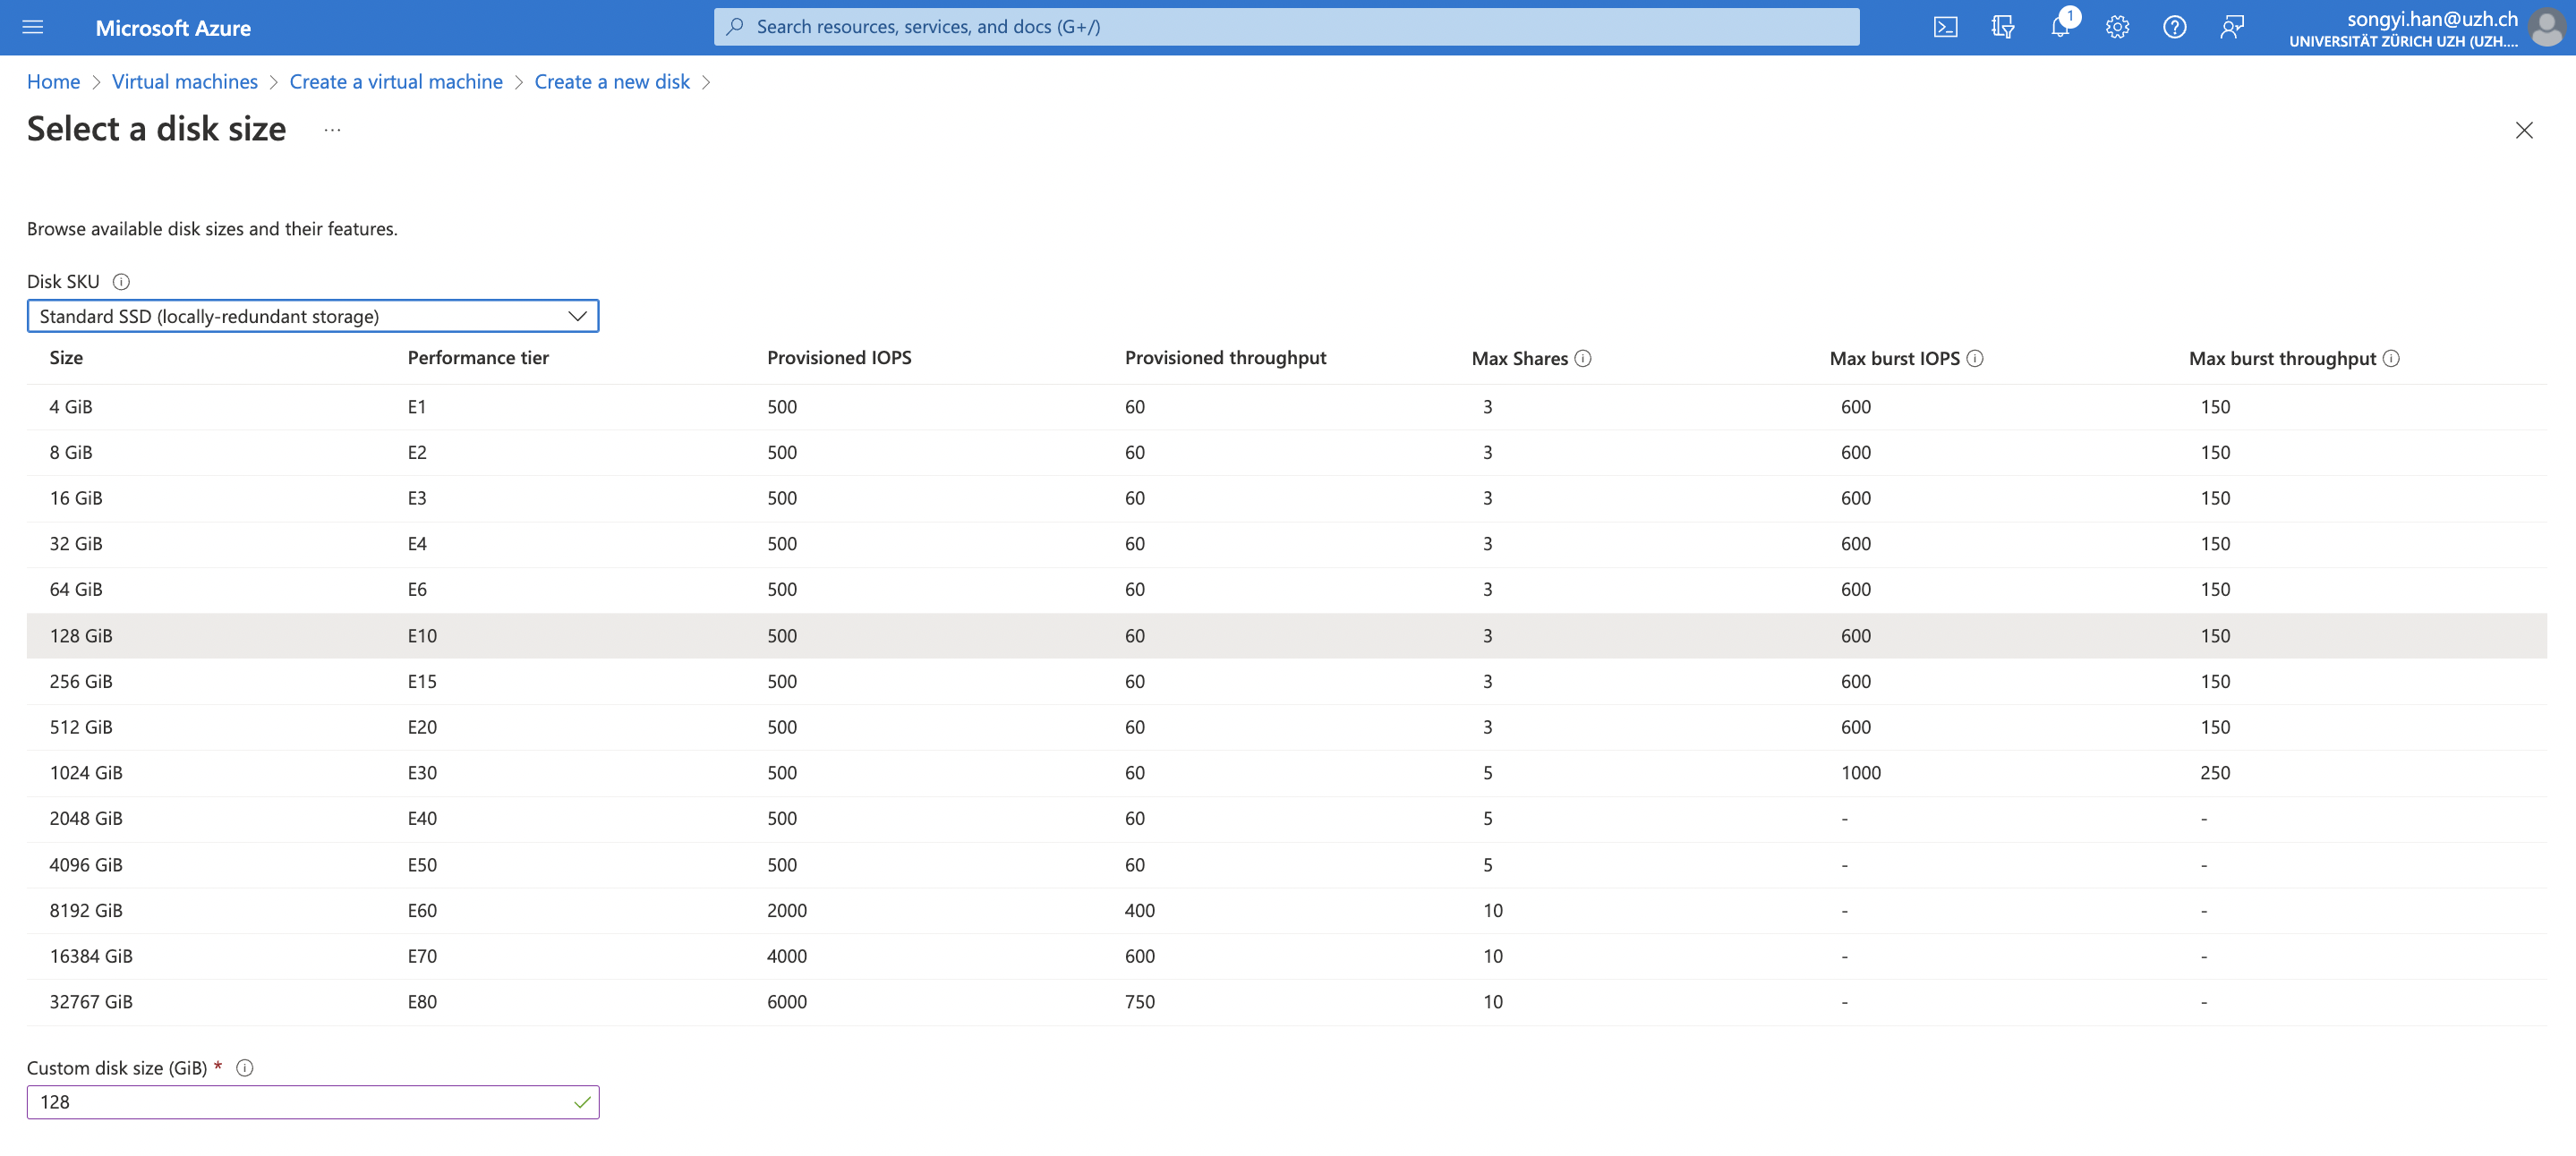
-adding additional 128GB disk storage
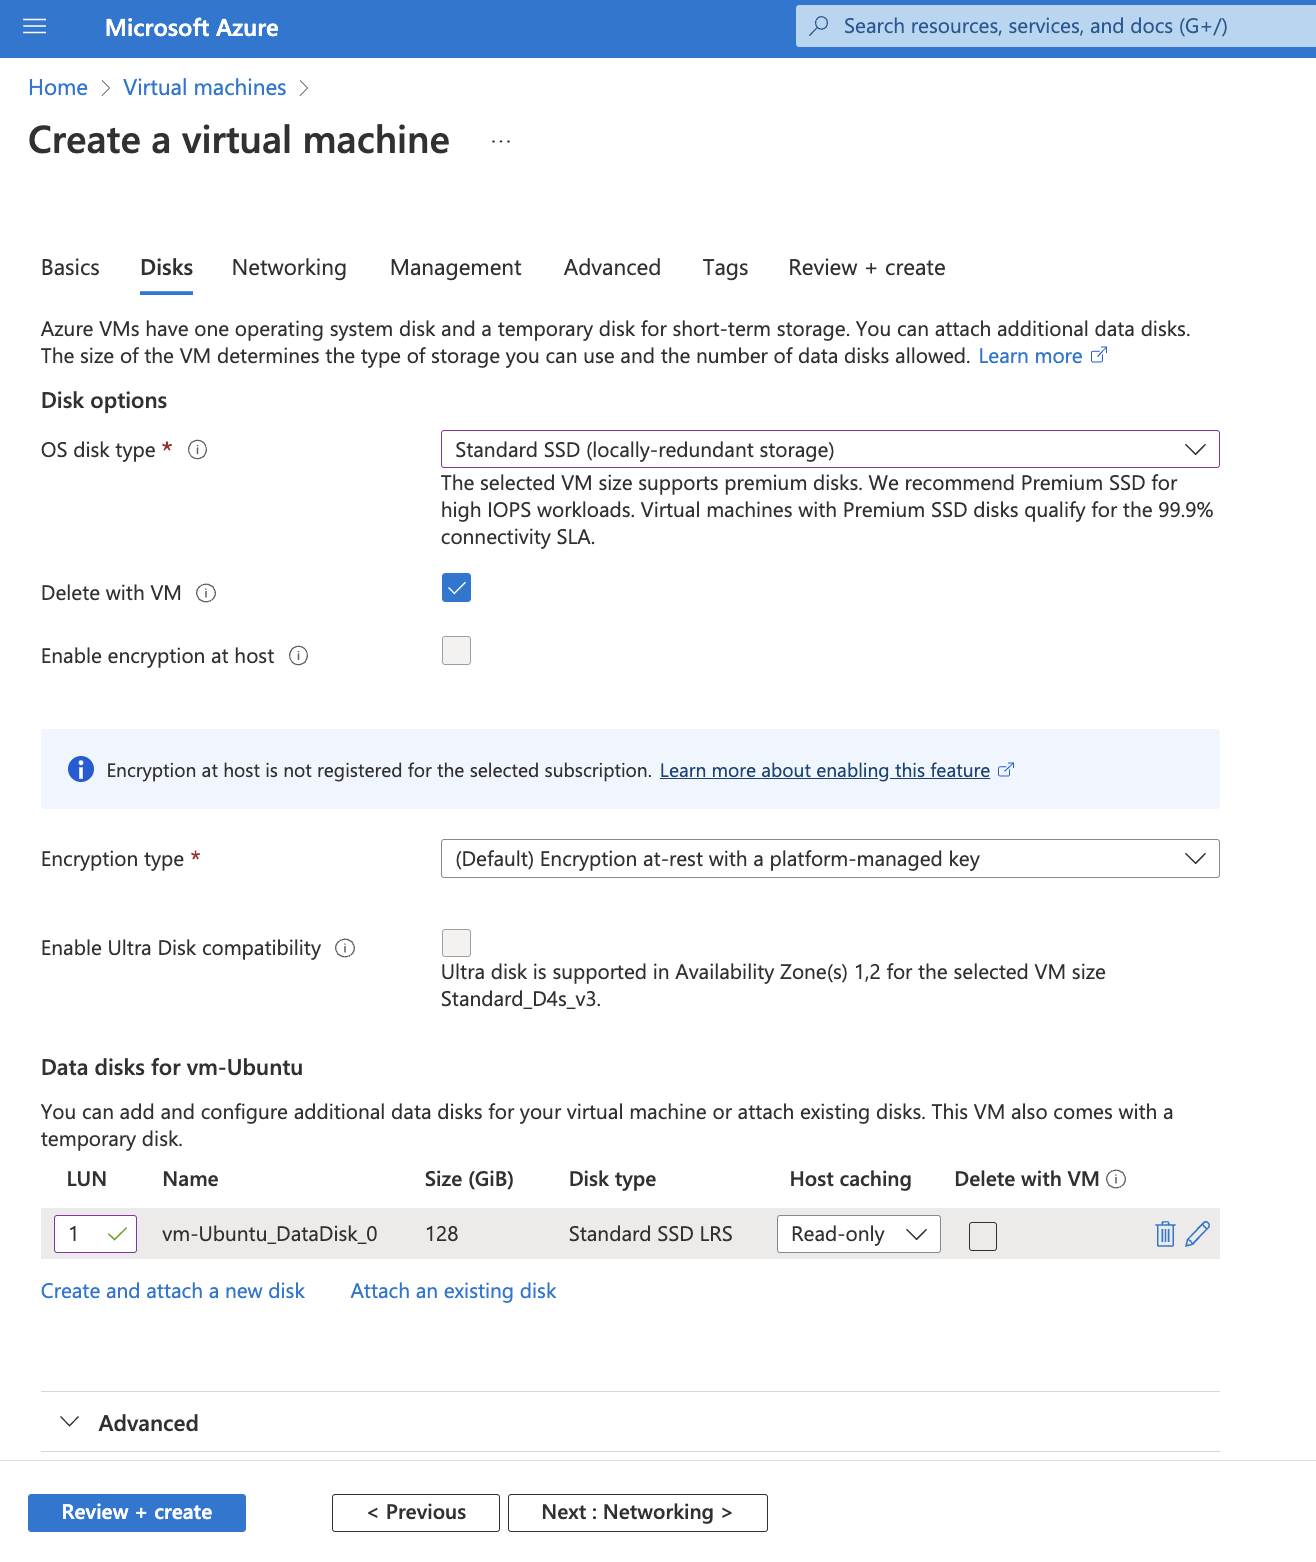
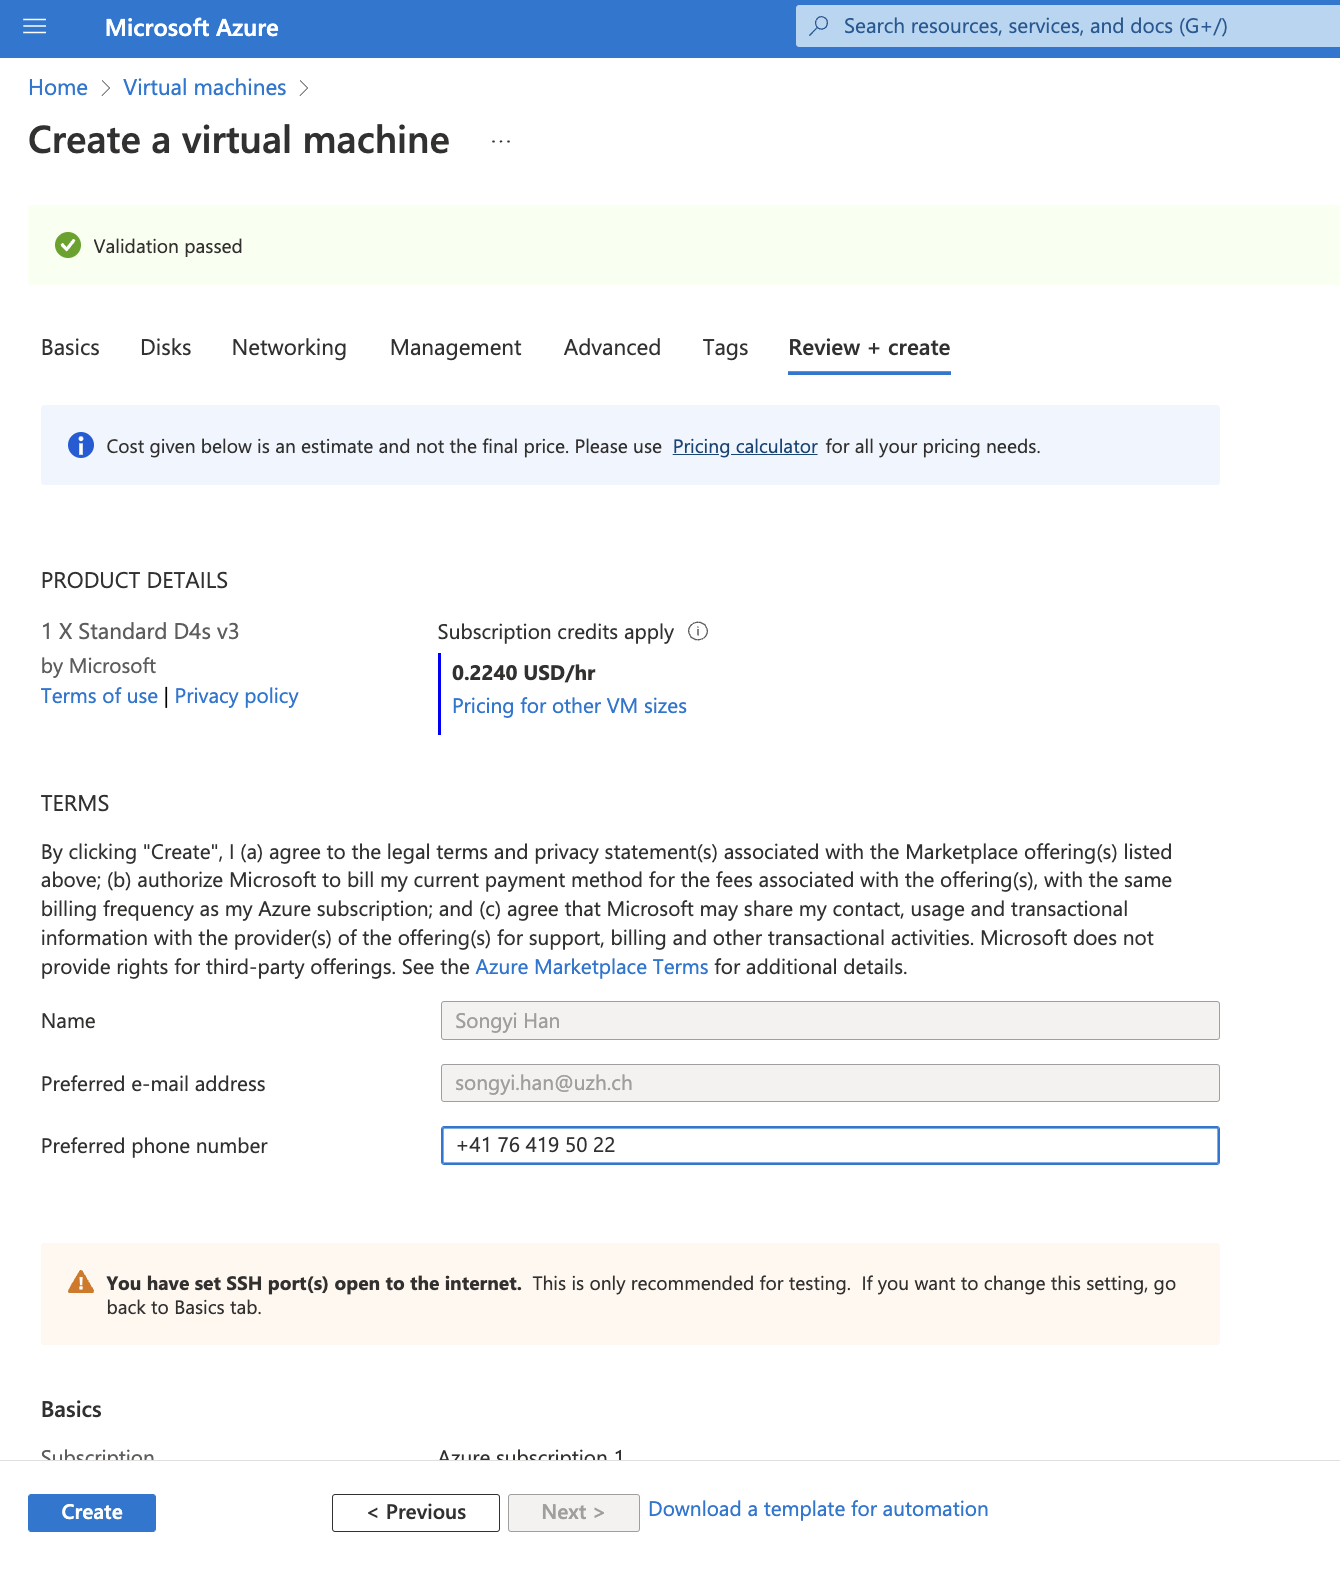
chage the value of LUN to 1 and click the Review+create button
3. Accessing VM on Putty
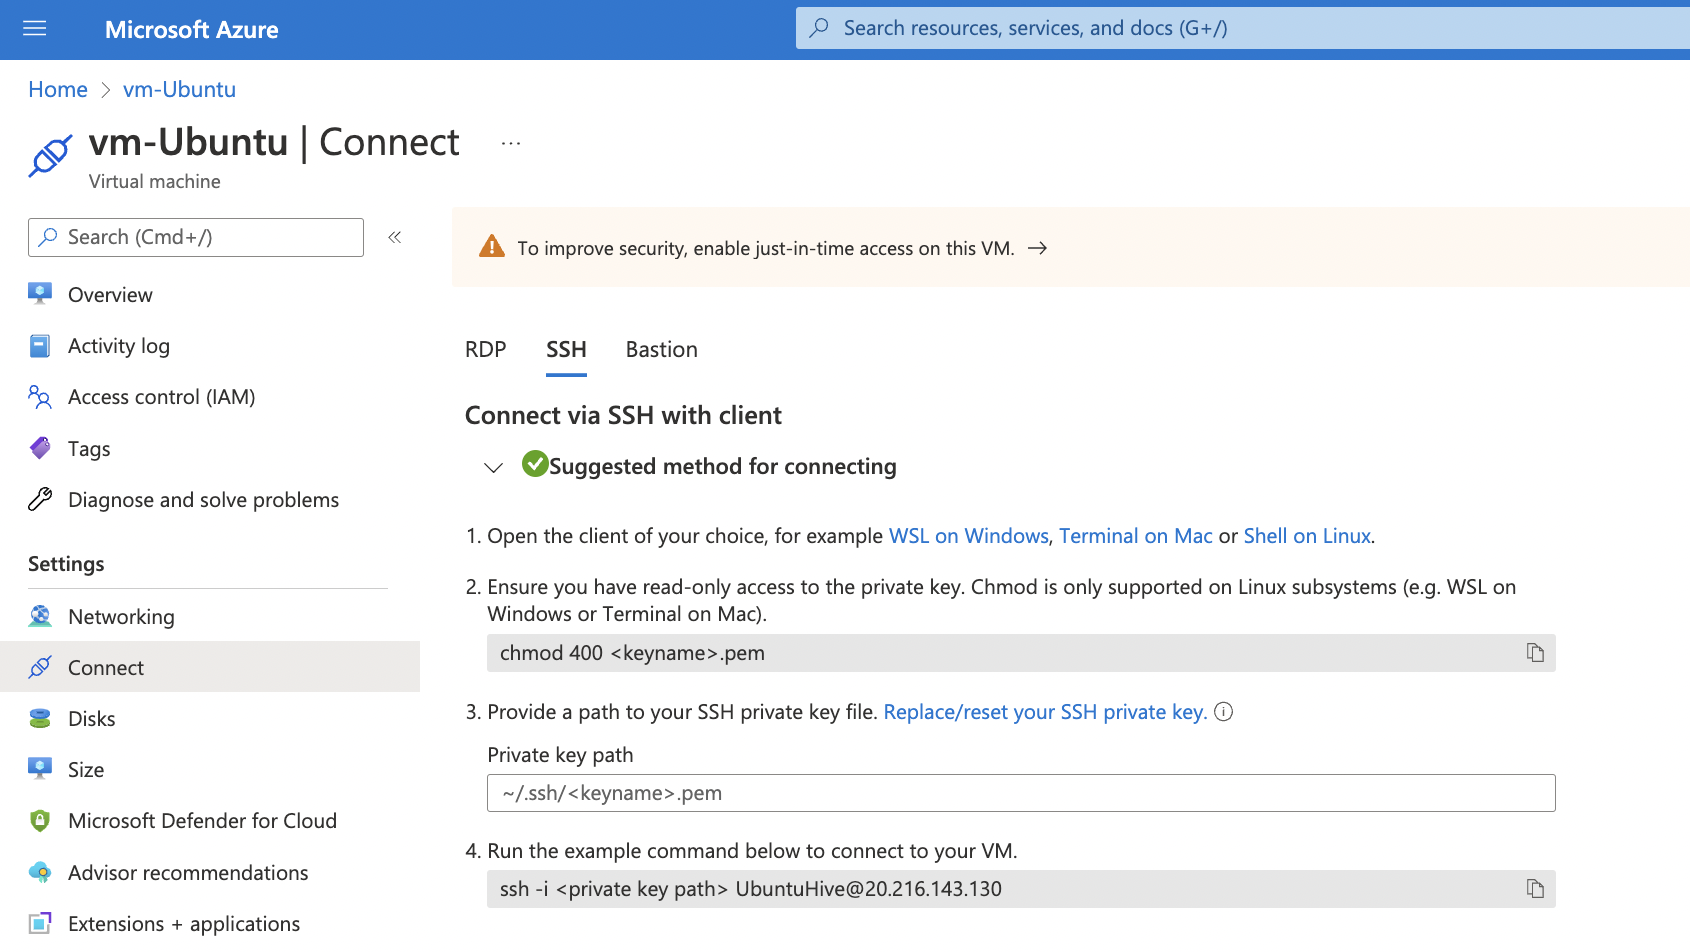
click the vm you just created and go to connect. copy the address for SSH connection
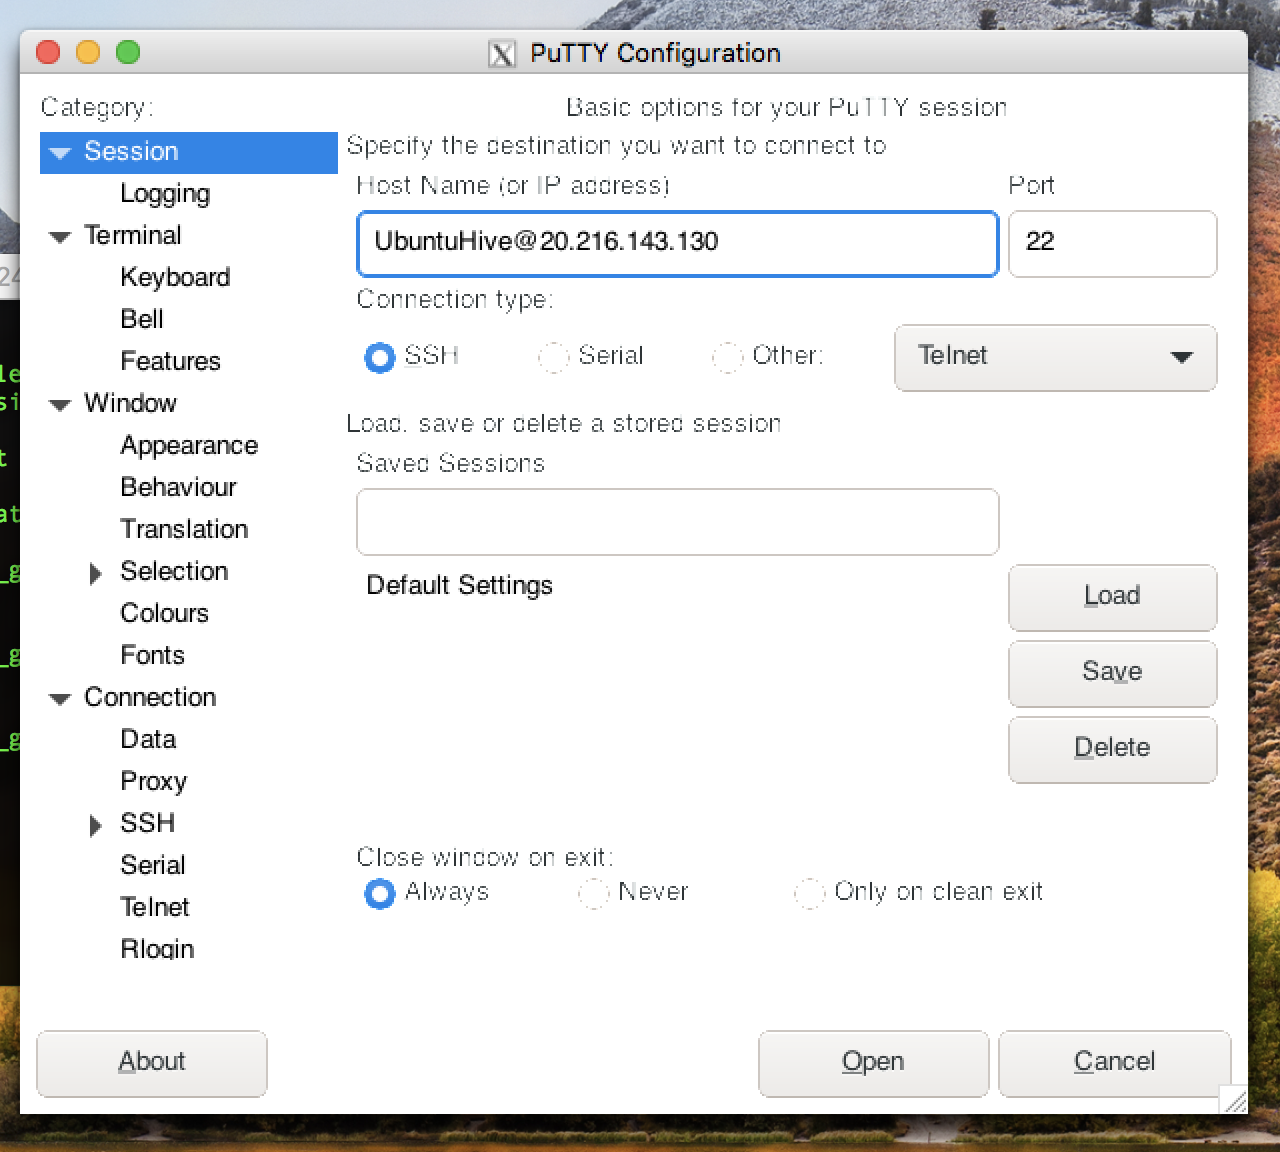
Open putty in your local and paste the idress
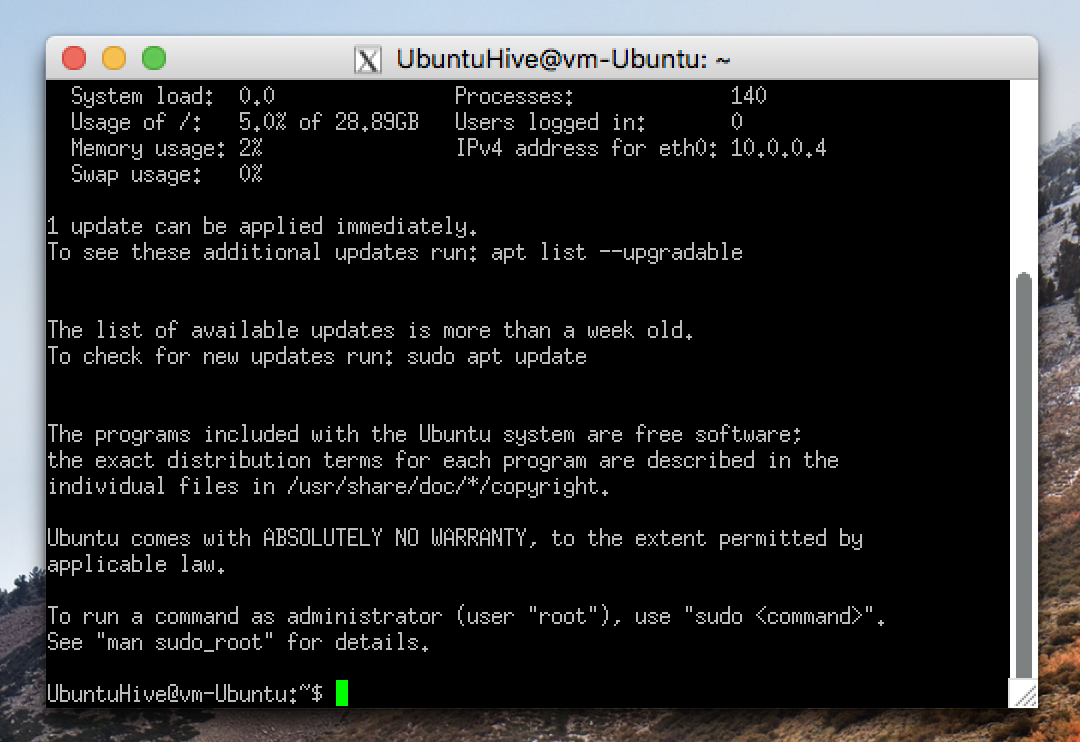
You are good if you see this
4. Mounting the disk to the VM
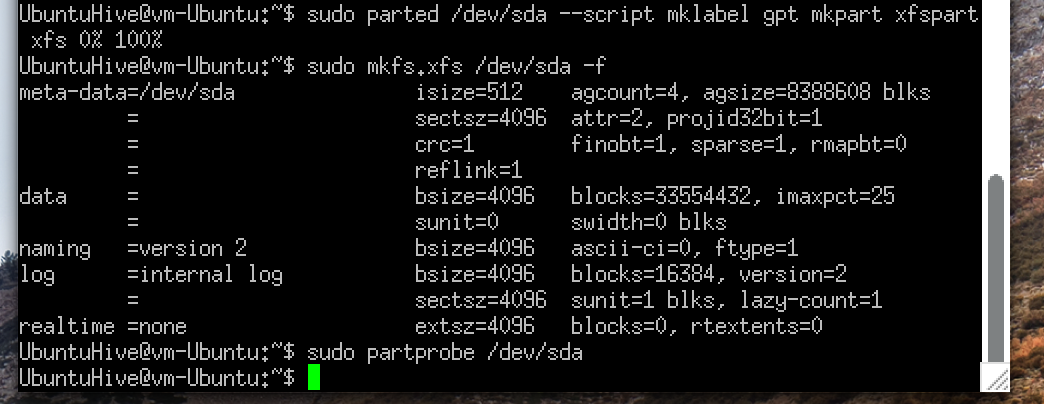
run the following code one by one for the configuration
lsblk
#partition the block
sudo parted /dev/sdc --script mklabel gpt mkpart xfspart xfs 0% 100%
sudo mkfs.xfs /dev/sdc -f
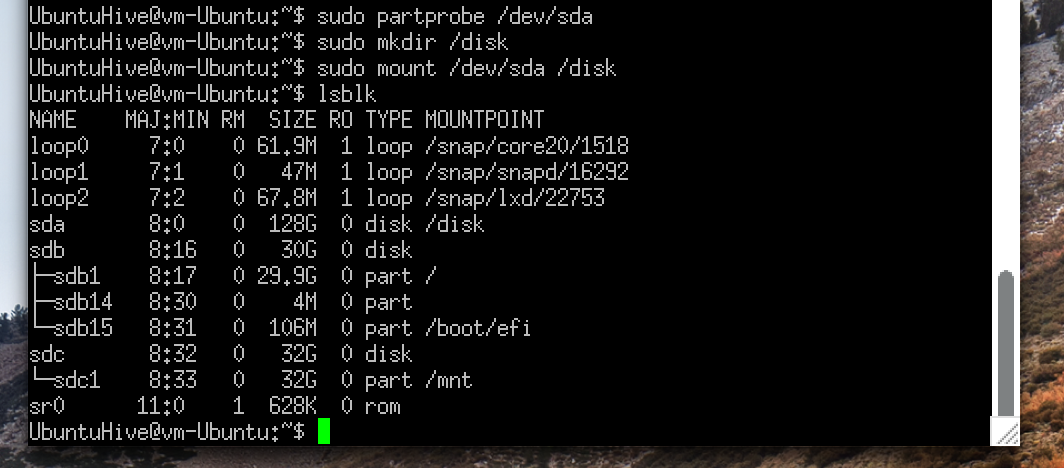
sudo partprobe /dev/sdc
#mount the disk
sudo mkdir /disk
sudo mount /dev/sdc /disk
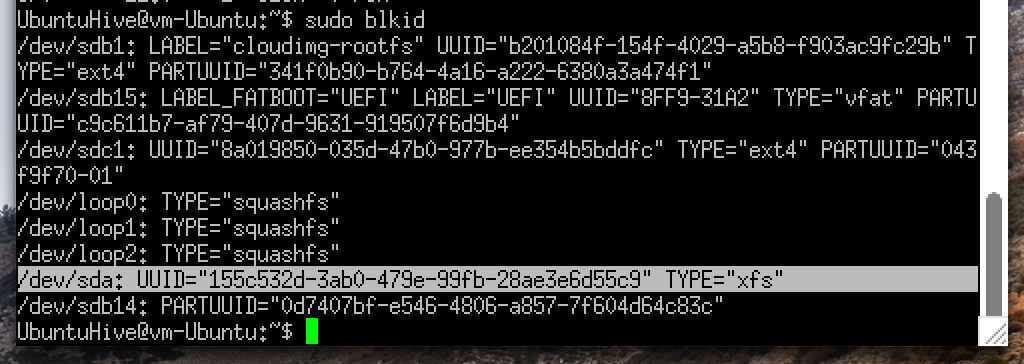
sudo blkid
/dev/sda: UUID="155c532d-3ab0-479e-99fb-28ae3e6d55c9" TYPE="xfs"
sudo nano /etc/fstab
UUID=155c532d-3ab0-479e-99fb-28ae3e6d55c9 /disk xfs defaults,nofail 1 2
/* Provide full permissions on the drive */
sudo -i
chmod 777 /disk
exit